How to Clip in Extensions for Different Hairstyles
4.7 (196) In stock

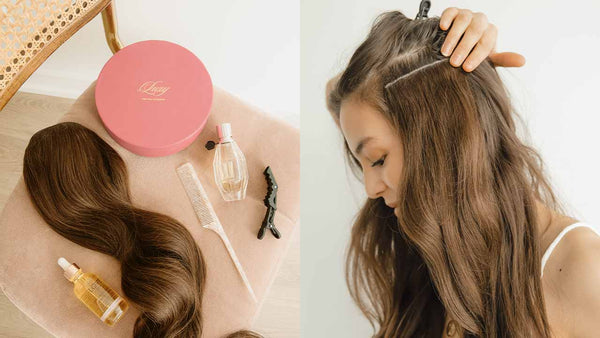
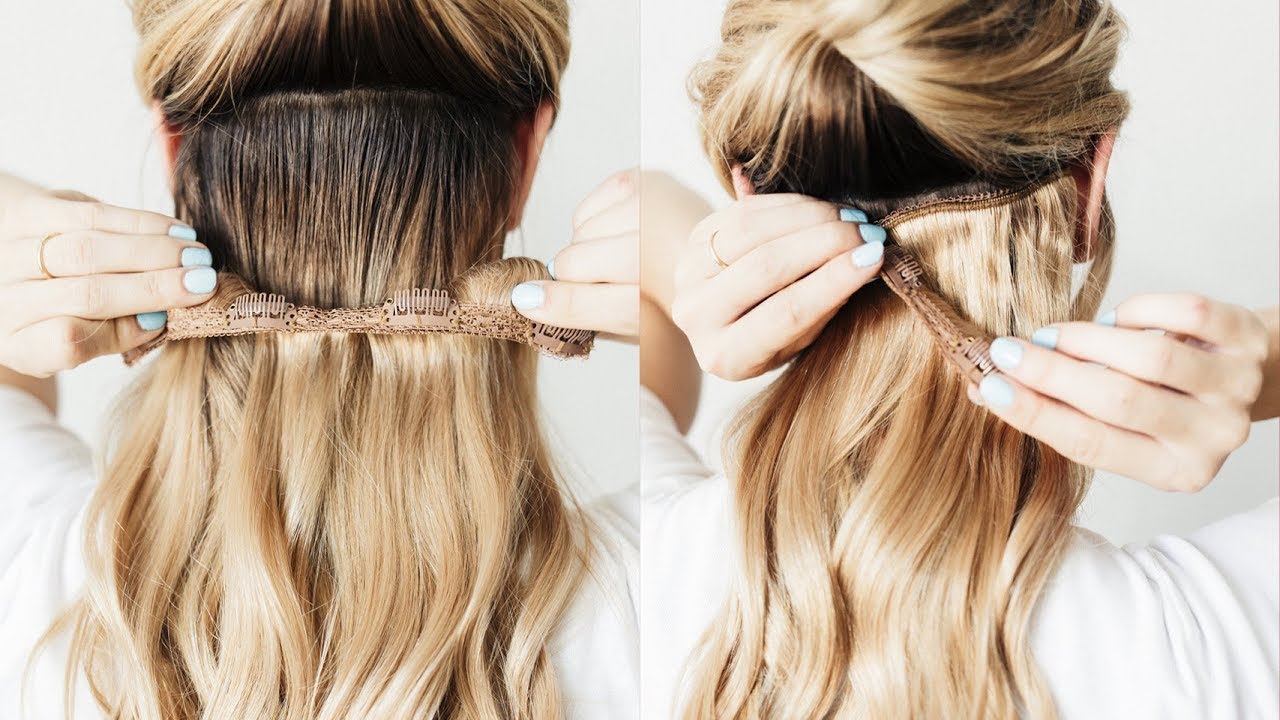
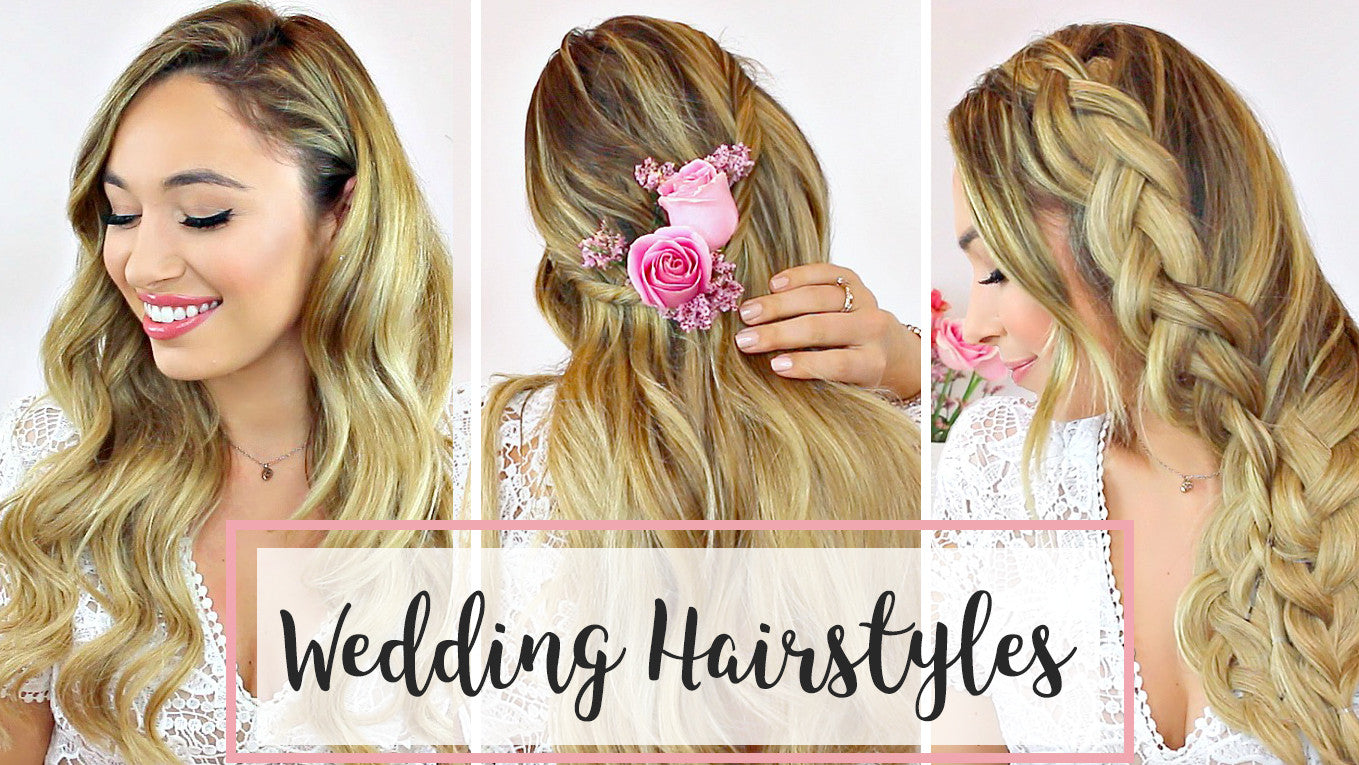
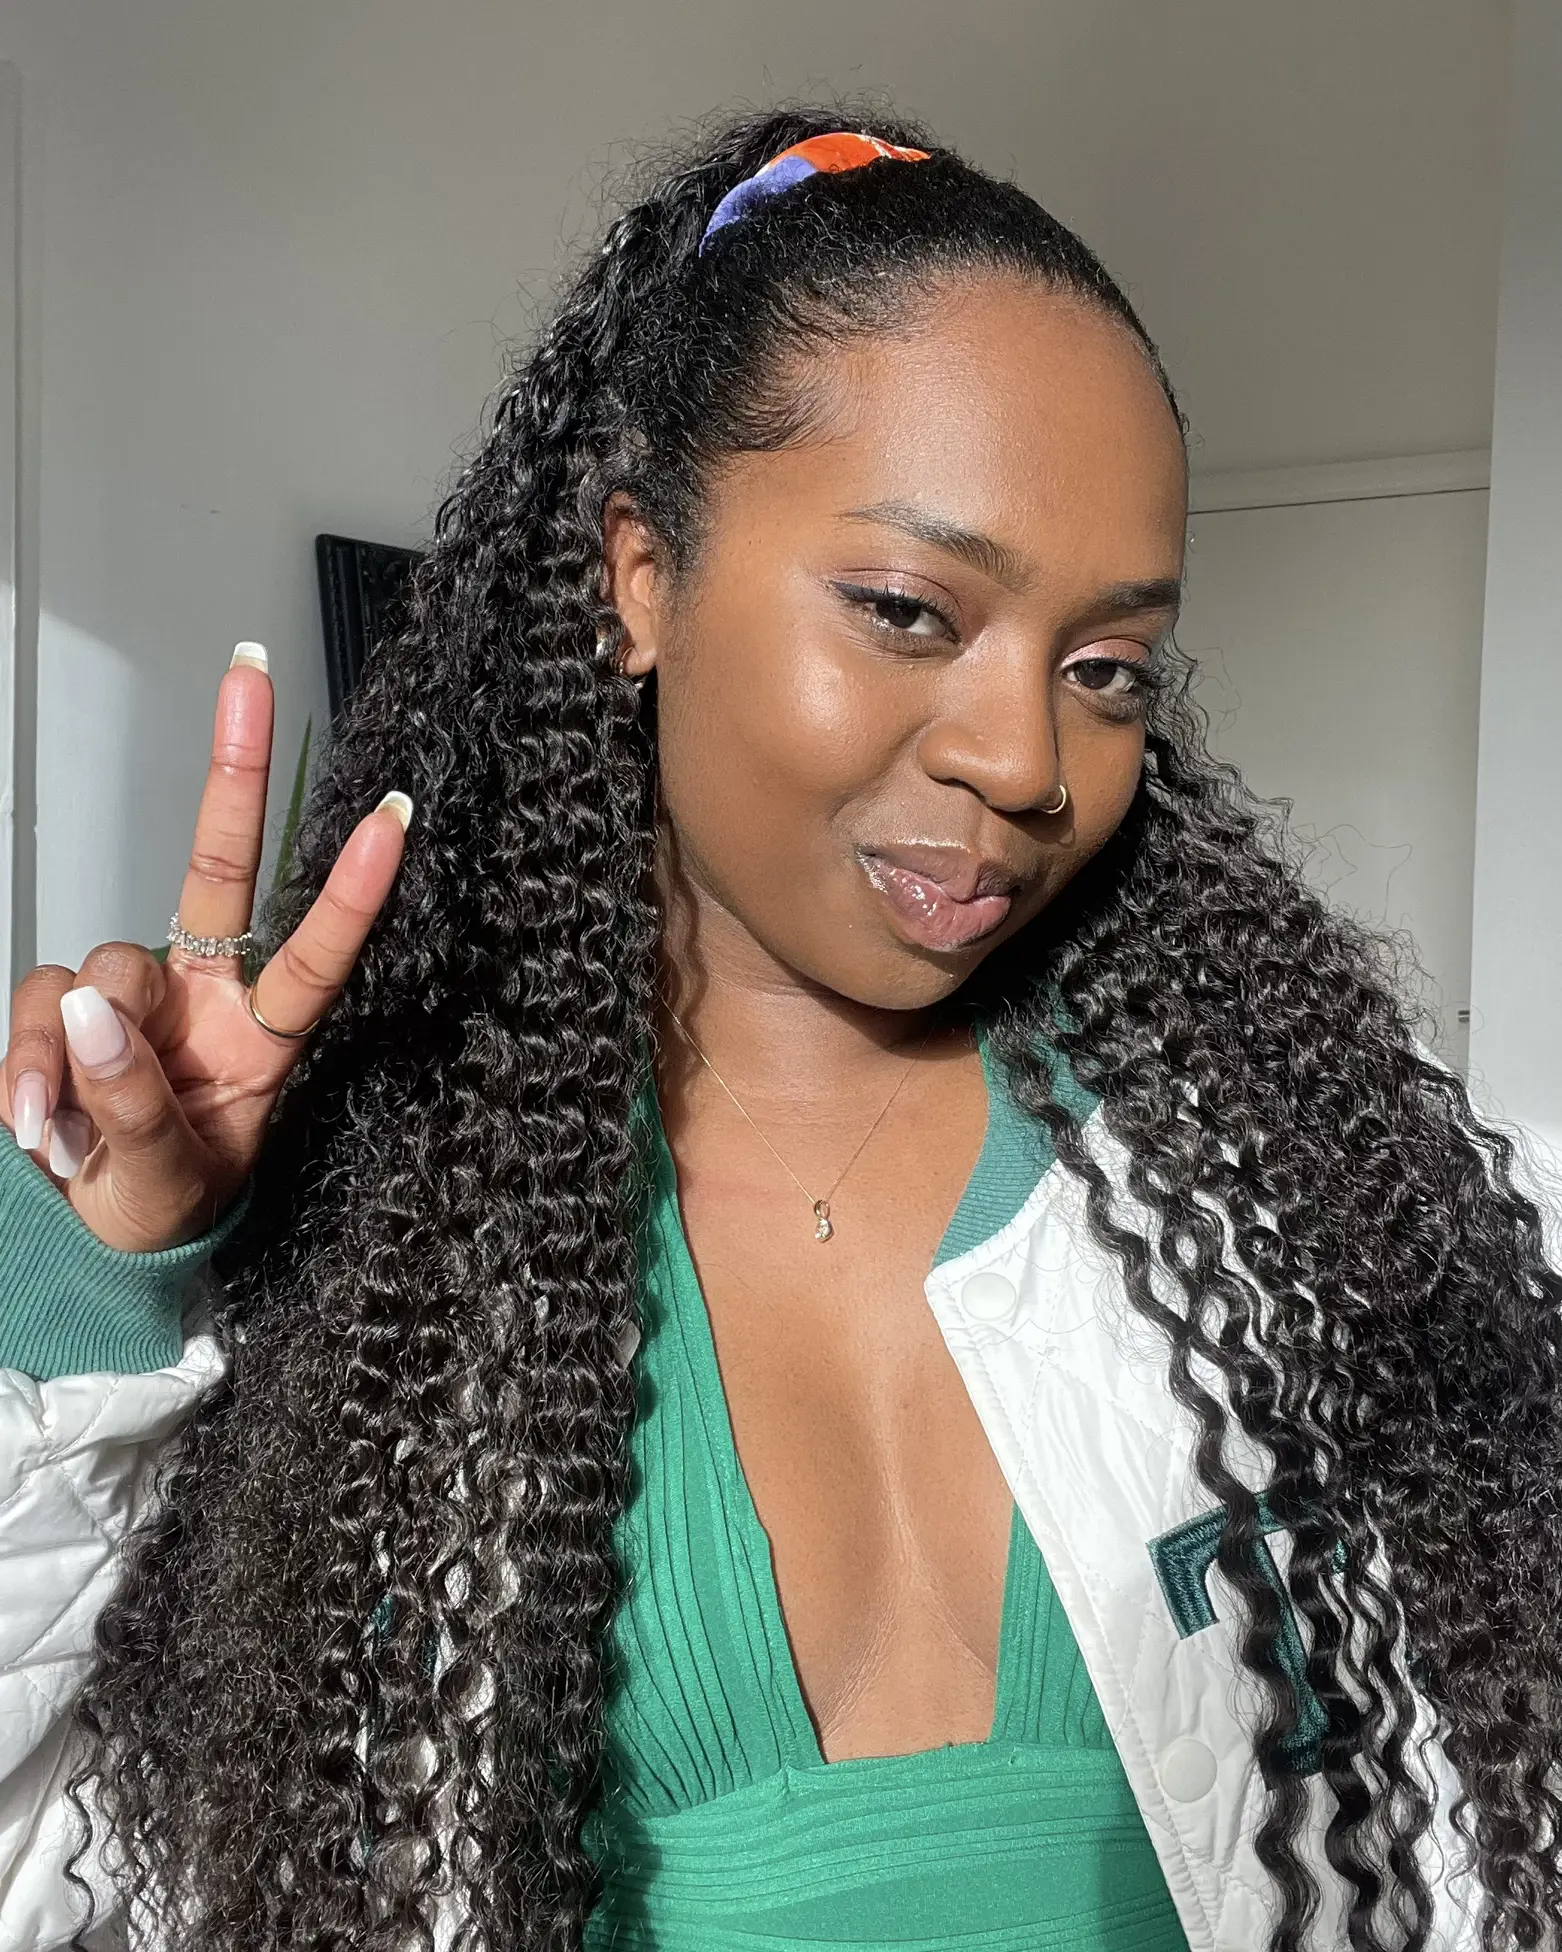
In today’s tutorial I will be sharing all of my tips and tricks for clipping in hair extensions! I’ve received so many questions about the hair extensions I use and how I clip them in and thought it was time to share all of my secrets with you! I am using Dirty Blonde Luxy Hair extensions and will show you how to clip them in for 5 different hairstyles including a half up style, side braid, ponytail, high bun, and low side bun. This tutorial is in collaboration with Luxy Hair and I am also featuring a tutorial on their channel where I will teach you how to create a cute half up style using my Luxies. Check out the Luxy Hair channel here! Get your own Luxies here and use code LUXYMISSYSUE! You can take a lot of liberty when clipping in extensions for a half up style; meaning you can clip in as many or as little as you prefer and the method is similar to wearing your hair all down. Half Up Style Instructions: Step 1 / Start by doing a practice run with the hairstyle to see which sections of hair will be clipped up or tied back. Step 2 / Clip these sections out of the way so you don’t place any of the clips in these areas. Step 3 / Start at the base of the skull and divide off a layer of hair. I like to do this right above where the head starts to slope in towards the nape of the neck. Step 4 / Clip in the extensions with two clips on them. You can clip in both, stacking one above the other, or clip one weft onto the other weft so only one set is clipped directly to the head. Step 5 / Let down a layer of hair, at about the top of the ears, and clip in the extensions with three clips. Start in the middle and work out to the side clips. Clip in both, one, or clip them to each other before clipping them to the head. Step 6 / Section off a new layer and now clip in the four clip wefts. Step 7 / The only extensions left out are the single clip wefts so if you want to wear these then you can clip them in above the four clip wefts or onto another previously clipped in weft. For this tutorial I left these off. Step 8 / Now let down the previously clipped sections and finish the hairstyle. For side braids or braids in general I like to place my clips wherever the braid will be. For this tutorial the braid is on the left side so I am going to stack all of my clips on this side. Side Braid Instructions: Step 1 / Divide off a layer of hair at the top of the ears and clip in two single clip wefts next to each other, slightly off center towards the left side. Step 2 / Let down the hair and divide off a new layer. Step 3 / Now clip in two more single clip extensions. Step 4 / Divide off a third layer and clip in one or both of the two clip wefts. Step 5 / Sweep all of the hair over the left shoulder and finish the hairstyle. Here is the original tutorial for the Side French Braid that I featured in this video. I love wearing a thick and full ponytail so I like to wear a lot of extensions. For this tutorial, I will be using all four of the single clip extensions as well as the two clip wefts. To make the two clip wefts more easily disguised I fold them over and clip it together so it’s as wide as a single clip weft. This way I can create two extra wefts. Ponytail Instructions: Step 1 / Begin by brushing all of the hair up to where you’d like your ponytail to be. These tips apply to every ponytail whether it’s high or low. Step 2 / Next slide a finger into the hair right above where you plan to wrap your ponytail and this is where we’ll place the first extensions. Step 3 / Grab two single clip wefts or the folded 2 clip wefts and clip them in next to each other. Step 4 / Now side off a layer of hair right above the extensions (working towards the forehead) and place two more extensions. Step 5 / Divide off a third layer and clip in the last two extensions. Step 6 / Now brush the hair back into the ponytail placing directly under the last extensions and tie it with a hair band. Step 7 / I love having volume at the crown so I pinch and pull the hair at the top of my head afterwards and this also helps to hide the clips even better. Nothing beats a high bun and if you can make it ten times thicker then you are on the high road to hair heaven. For this hairstyle I use the same method I did for a high ponytail so with the hair already prepped I just grabbed a mesh donut and pulled the ponytail through the center. Divided the hair into two sections, twisted the forward portion around the bun, pinning down the edges, then wrapped the section section around the base, pinning the edges again. If you’d love to see a separate tutorial for this hairstyle then be sure to leave me a comment below letting me know! This low side bun is one of my favs and the method for extensions is similar to the previous side braid hairstyle. Side Bun Instructions: Step 1 / Wrap the hair into a ponytail, placing it where you want your bun to be. Step 2 / Slide a finger into the hair right above that spot and divide off the hair. Step 3 / […]
What Are the Different Types of Hair Extensions? - Luxy® Hair
Transform Your Look: The Versatility of Clip Weft Hair Extensions

How to Use Clip in Hair Extensions (with Pictures) - wikiHow

How to Clip in Extensions for Different Hairstyles, MISSY SUE
TUTORIAL How to put in Clip-in Hair Extensions
Wedding Hair: 3 DIY Hairstyle Ideas - Luxy® Hair

Clip-In Hair Extensions Dirty Blonde (Color 18, 160 Grams) - Luxy® Hair
Hairstyle with clip Ins, Gallery posted by OPHÉLIE

How to Apply Eyeshadow French braid ponytail, Long hair styles, Mohawk braid
Butterfly Braid How To - Braided Hairstyles
6 Black beauty creators share their top hair and makeup tips
70 Box Braids Hairstyles That Turn Heads - StayGlam
Bubble & Braids Hairstyle Basketball hairstyles, Softball
Better late than never #hair #hairstyle #tutorial #braids #easyhairst
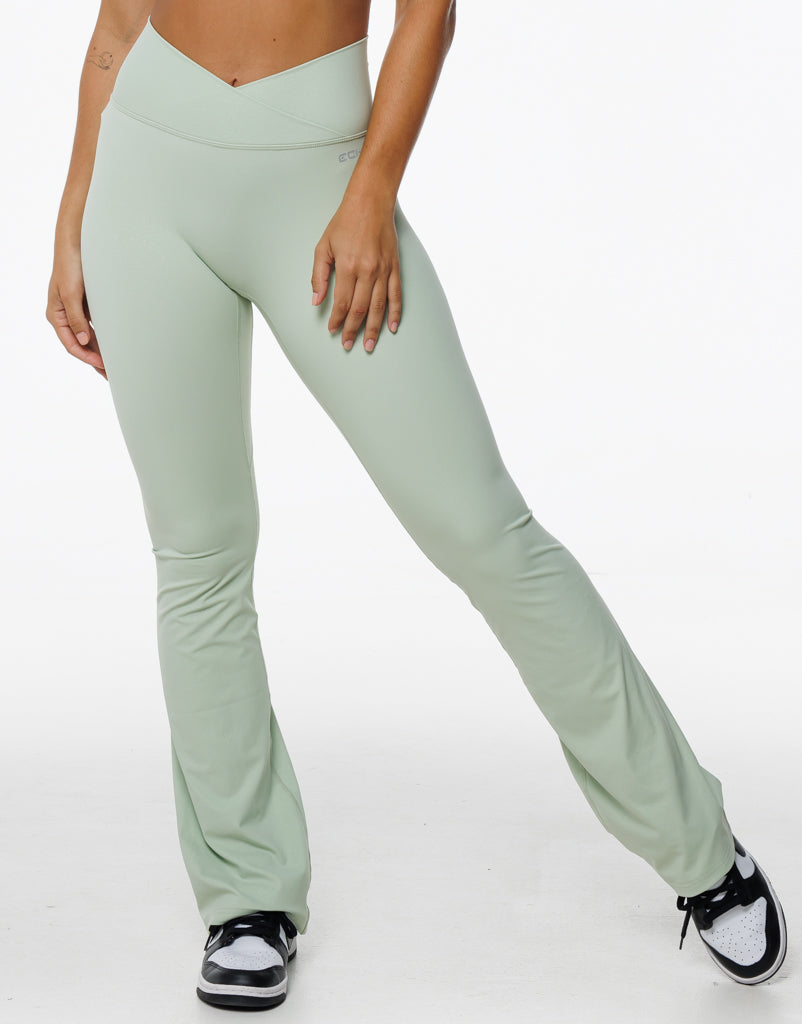 Storm Flare Leggings - Sage
/product/74/4394152/1.jpg?7234) Fashion (Green)Happylisa Women Pants Wide Leg Loose Baggy Ladies Sweatpants Low Waist Chic Hot Streetwear Trousers Joggers Die Hose P03 DOU
Fashion (Green)Happylisa Women Pants Wide Leg Loose Baggy Ladies Sweatpants Low Waist Chic Hot Streetwear Trousers Joggers Die Hose P03 DOU Women's Spacedye Practice High Waisted Pant - Extended – Sports Basement
 How to Fix a Low Neckline (V Neck), Beginner Sewing Tutorial
 Butt Lifter Women Skinny Jeans High Rise Waist Push Up Authenthic Levanta Cola Pantalones Colombianos Blue 512DB by Fiorella Shapewear
 adidas Neon Pink Sports Bralette